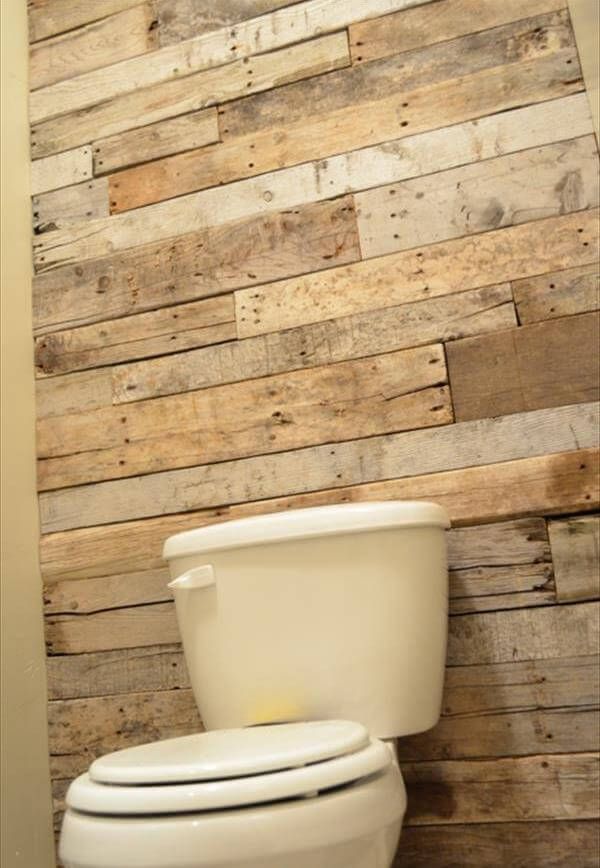
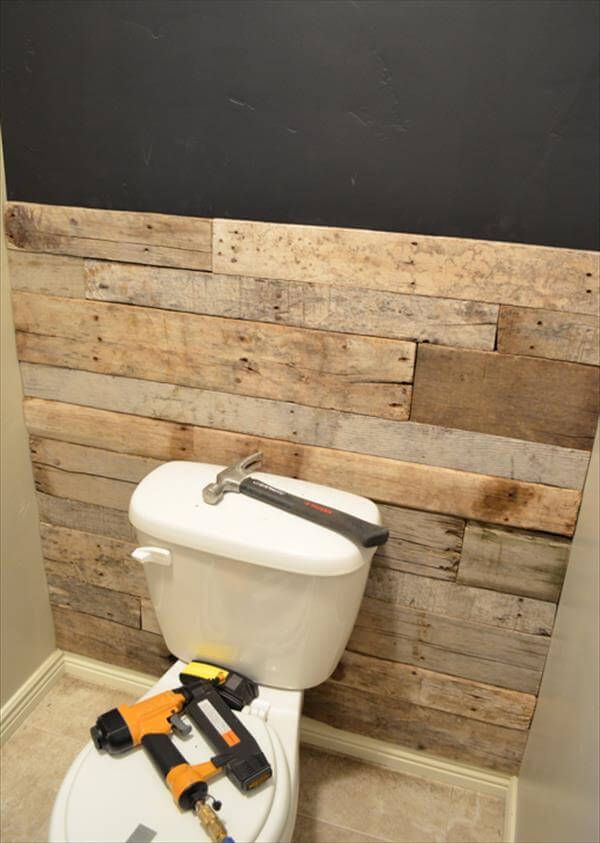
Here we are another interior home improvement plan which is totally concerns with pallet wood and have take a great benefit of it. We love rustic and want that antique looks of wood in our bathroom so managed the pallet into some according sizes and got a perfect DIY pallet bathroom wall design out of it. It came up with nice overwhelming art and make us obsessed a lot.
We have seen much ideas about DIY pallet wall while surfing the internet at home so this DIY pallet idea came to our mind and we did this sophisticated job and task for home. This much obtainable and workable project and a single person can handle all the job which is not a big deal a little bit. We have used about 1 complete pallet board for each 4 rows after stripping it up. Go with measured values to save the wood and time to make your budget more economical.
This rustic wooden wall worked also great in making the whole bathroom isolated. Make your home look like a rustic a little bit that would be much of eye-capturing and pleasing. We have chosen the pallet in rustic light brown shade and pulled them up by removing the snow on them.
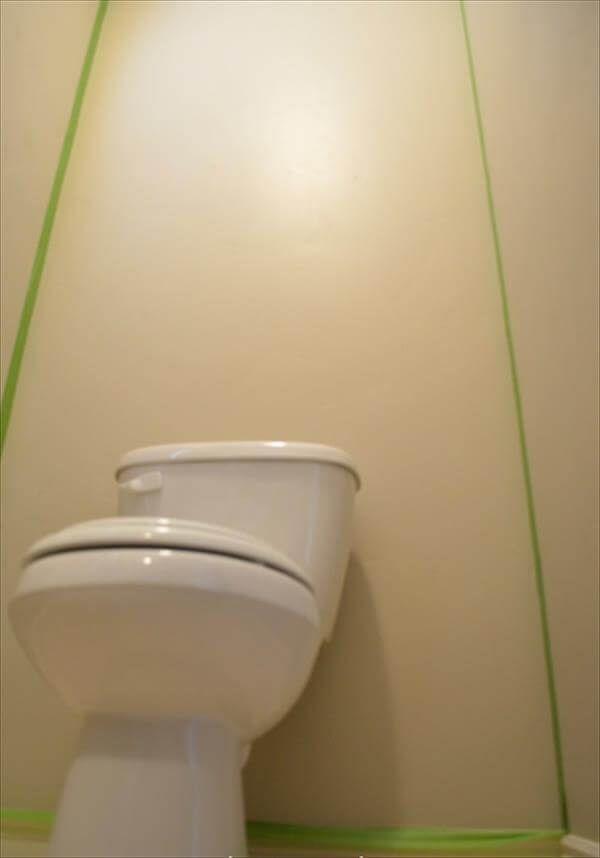
Make the outline with a ribbon strip plan the area for black paint, save the side wall from paint brush or roller and start painting by taking a brush tool in your hand.
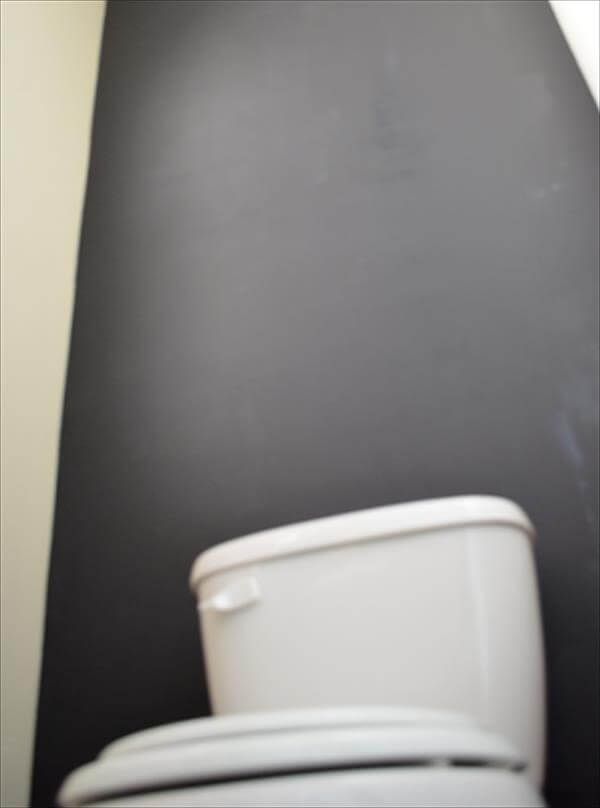
We painted the wall black to hide down the wall colors through the gaps and spacing through the pallets slats which would have not look nice. Black shade will not appear through the wooden wall and your will find clean and accomplished looks of your wall.
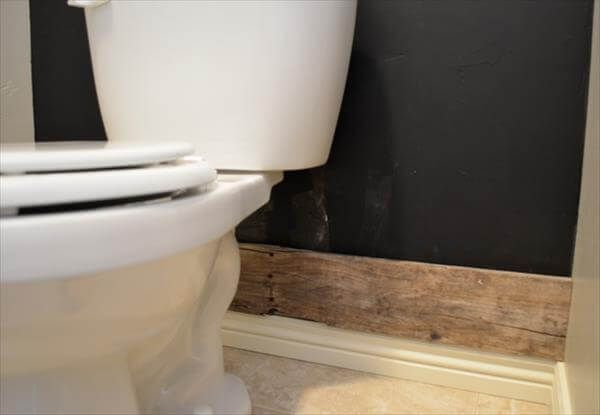
Now cut down the stripped up pallets in manageable sizes and start from the base portion just behind the toilet seat. We have just cleaned up the wood with some soapy water to remove that ugly gunk and ugly dust layers on the wood.
We want a pure rustic feel of wood with antique nail holes and imperfections so we did not go for sanding the wood down that would have cleared this appreciable rustic wood history that is the most precious phenomenon of this wooden wall texture.
To start each row with opposite side would be clever tip for a sharp and patterned filling of wall and will also remove the spacing and gaps between the slats.
As you mount any wooden length on wall give it a nail or screw holding and keep it repeating for further wooden slats. Given some light blows with hammer for better fixing and leveling of wood and also layer the glue between the spacing for a unbeatable grip of planks.
We filled up the whole wall by continuing addition of screws at the same time and it came up with this nice rustic effect of wood that is much responding and visually attractive and can look for further garnishing if you like.
Try it to any home wall to give that a antique and vintage touch that we love all!

