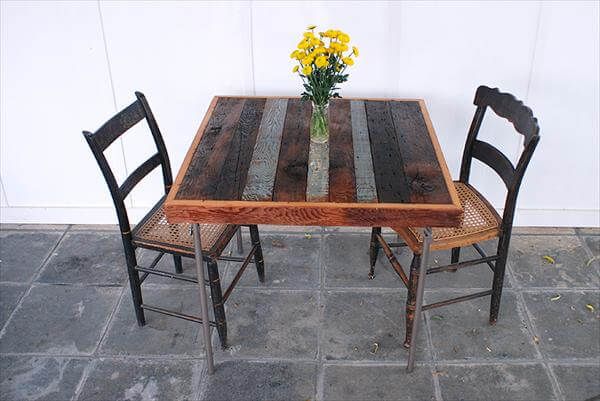
With every passing day you see the different roles of the tables in home whether its part dinner time or you are taking a coffee with your friend, whether you are intending to decorate your home or taking a morning breakfast, you will find table always in front of your in all these fun and honorable tasks which we daily do and are our routines. So the worth of table cannot be denied any more. Coffee table for outdoors especially in summers makes our day by serving us a lot all the day long by carrying beverage and coffee at its the top.
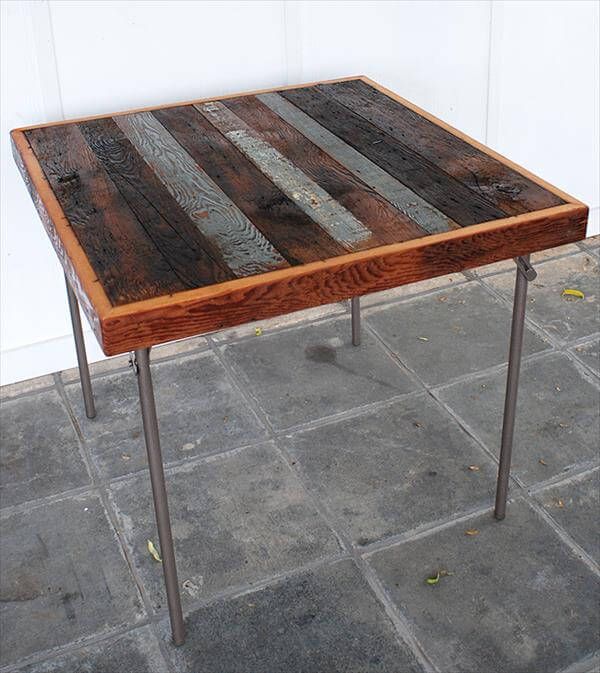
Due to owing a prominent position it should look pretty cool there but alas! Our metal table was not in much charming shape and has been broken up at the top. But we have given it a new life giving it a brand-new wooden top through pallet reclaiming which is always on a thrifty budget. Now this DIY reclaimed pallet coffee table looks much amusing with wooden top and has been restored back to working and of course the rustic beauty.
We have used the following supplies and tools to get this arresting layout of table:
- Old Industrial Metal Table
- Pallet wood
- Sawzall
- Circular Saw
- Glue
- Nails and Screws
- Screw Gun
- Electrical Palm Sander
- Polyurethane
- Spray Paint
Get your old table to the working area and flip it over to get the legs covered with an nice spray shade (any which you will desire the turquoise, white, and grey will look much pretty on it) which will give the legs an new look to get modernized.
Now use the the sawzall for disassembling of pallet wood to get the desired lengths out of the stripped up planks to get a rustic table top for our metal table.
after stripping measure the top frame of table and get some precised measurements to go for cutting according to them. Figure out the values and turn the power on of your circular saw for cutting of targeted lengths our of planks.
Now make some extra lengths out of pallet wood to frame up the top in nice enclosing boundary in this step the carpenter marker or chalk and circular saw will help you a lot. We have given some angled cuts for nice gripping of the meeting ends.
Before you continue the framing of the top layered the glue on all side to held it tight for more durability and then add the border lengths with nails or screw by using nail or screw gun.
While choosing the lengths for the top, make sure of one thing, check for whether they are equal in light and thickness or not if not, get them equal for plane and smooth rustic top.
After laying the glue and fixing the top let it dry for sometime. After getting it dried we have finished it off with glossy wood treatment through polyurethane which have it a rustic shiny view and is also very best in increasing the wood strength and durability for a long time.
Wood and metal are looking great together, do the same if you have also a broken up metal table. This industrial DIY pallet table will be more gracious now and will be same in service as before.


