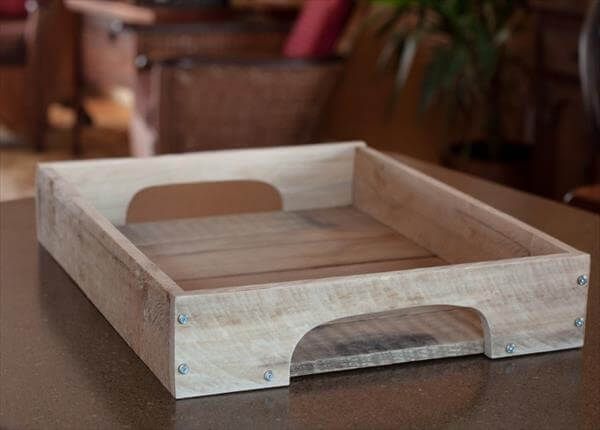
All the things in that of wooden nature that held more precious and endearing to all of us, can be yield though pallets. Pallet recycling is common phenomenon now a days and is leading to high valued DIY pallet furniture without causing any overflow of your money. Now we have here with a 1 pallet skid DIY project to restore a well-build and well-behaving wooden essential. We have made this such a nice piece of DIY pallet tray, which would be a highly serviceable object at every edge of home where any king of servings take place.
All we have got with this antique and rustic style is a magnificent utilitarian need and have been salvaged though pallet wood purely. You can easily lift it up reach that of target location by hands though the side pockets and holes. Get this cheering cottage and shabby chic styled tray though fertile recycling of pallet wood, which is highly accessible and almost free of cost type of wood.
This rustic nature goes perfectly with that of country style and is just popular for antique and prehistoric serving themes. You can manage spices, tea and coffee ingredients on this wooden tray to get on table what taste you desire in the food and coffee.
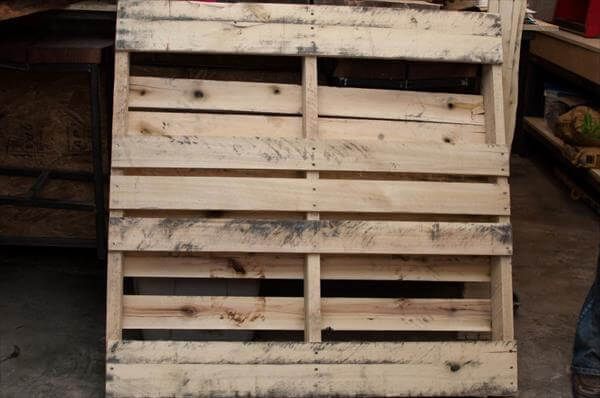
Here comes the face of pallet skids which we found on the rustic and rubbish pile. A creative perspective changed this pallet wood into a valued and utilitarian character of home, which is mostly a worthy component of table top, subjected to eating purposes.
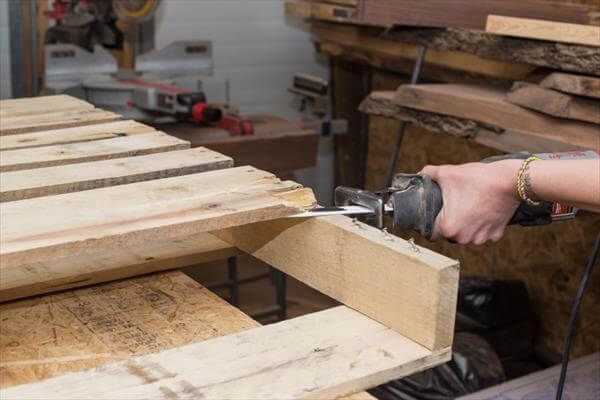
We have use a high valued electrical tool namely as Sawzall. Operate it by moving the blade of it along the junction of pallets and separate them all, it would definitely take much less of your strength and time. If you want some more appreciated results, in case of if you happen to find a ugly looking pallet then make them washed, sanded with hand.
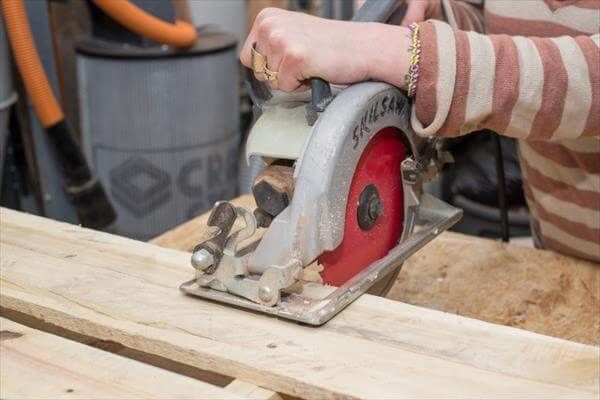
Took the measurements according to the size you want, and start cutting the stripped pallets according to that. To have sharp and well defined cutting the electrical circular saw will be the best choice. Any precised and perfect cut will brought that additional charm.
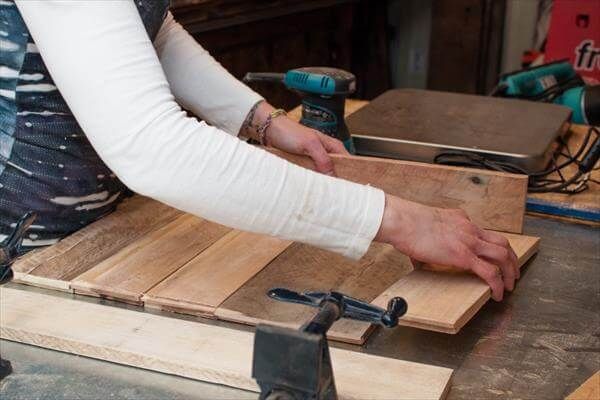
Every pallet tutorial needs a comfortable working place, so we have done this DIY pallet project in our garage by using it as a working space by getting it equipped with some basic and accurate wooden tools. After getting a bunch of pallet planks of equal size and thickness we fixed up our tray base out of it. Use the king glue for adhesion and assembly purposes for inner strength of the whole handcrafted model.
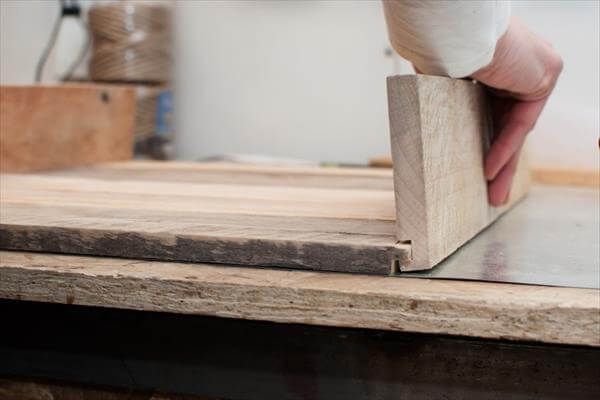
To have a perfect assemblage we have selected the durable tongue and groove system. This system is popular one and contain such a joint system that one part contains that increased length like a tongue ant fix very well to another containing the groove in that size. We have made this tongue by cutting the with removing the the width of pallet planks from up and down side and leaving the half thickness of it at the mid.
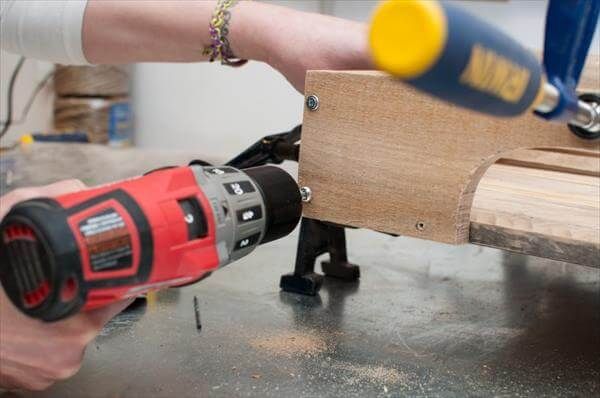
Screws are great choice to held the wooden lengths in particular shape, so we added them to get that peak endurance and grip. Use the screwdriver or nail gun to fix them tight to make the perfect joint of two planks. We have done the same on each corner of the tray to get it well-build and durable.
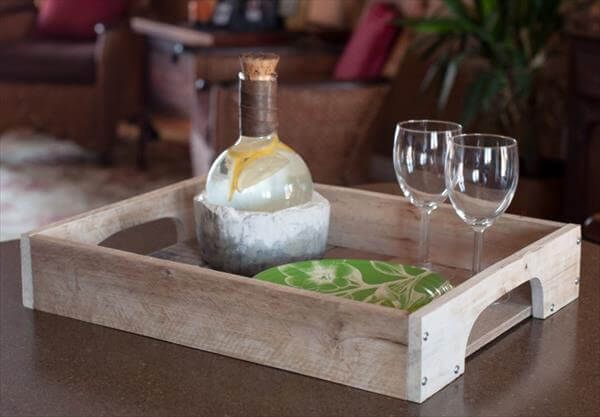
Give it perfect garnishing by making it sealed with some sealant like epoxy resin which will give the semi gloss shine and with strengthen the existing durability more. You can make it waxed too to get it waterproof. Place and arrange the things you like to be inside of it and let the rustic magic work. Have this nice plan to enlighten the shabby chic atmosphere in your home interior and it will work also great for the outdoor and patio tables.

