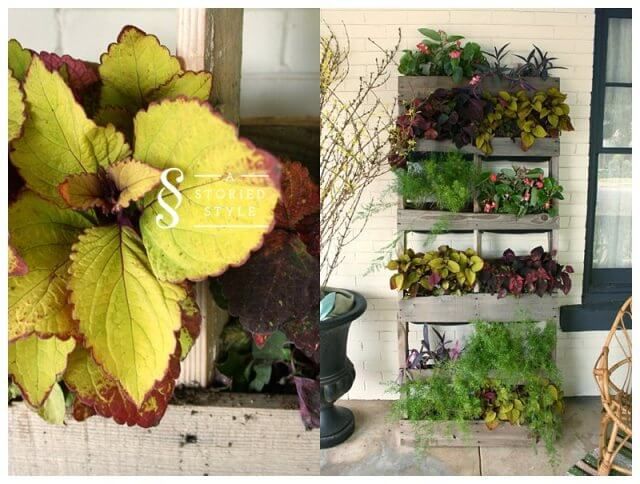
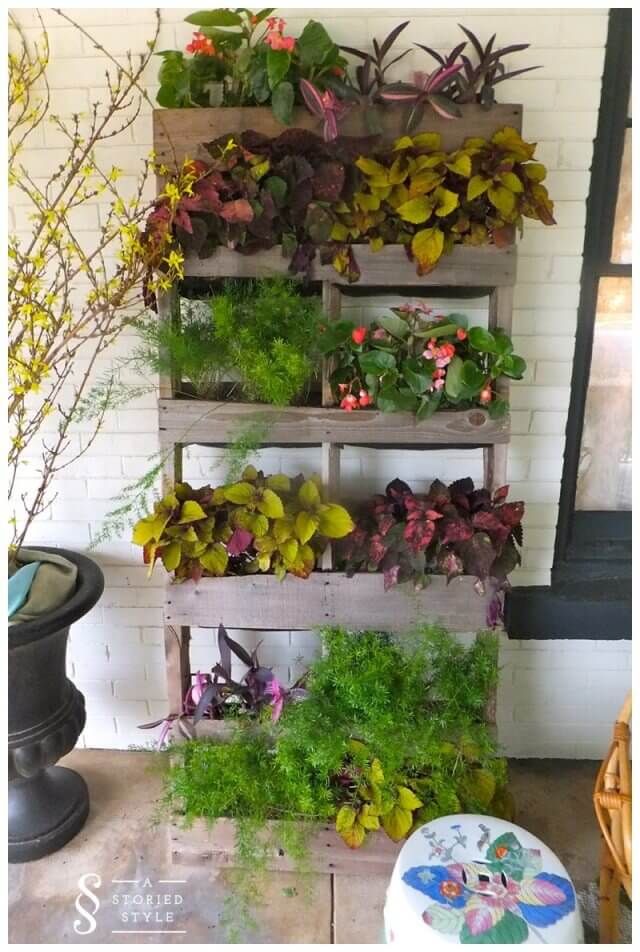
There is that one corner in your house that you repeated look at wondering what can I do with here. You want something fresh and light that does not take up too much space and is wallet friendly. I was in a similar dilemma. My house had a lonely corner beckoning to me every time I passed by it. After some research I went for my first DIY vertical pallet planter. The result was amazing as this mini garden rack could be moved around and complimented any decor. The expenditure was minimal and I was a happy bunny at the end of my endeavors.
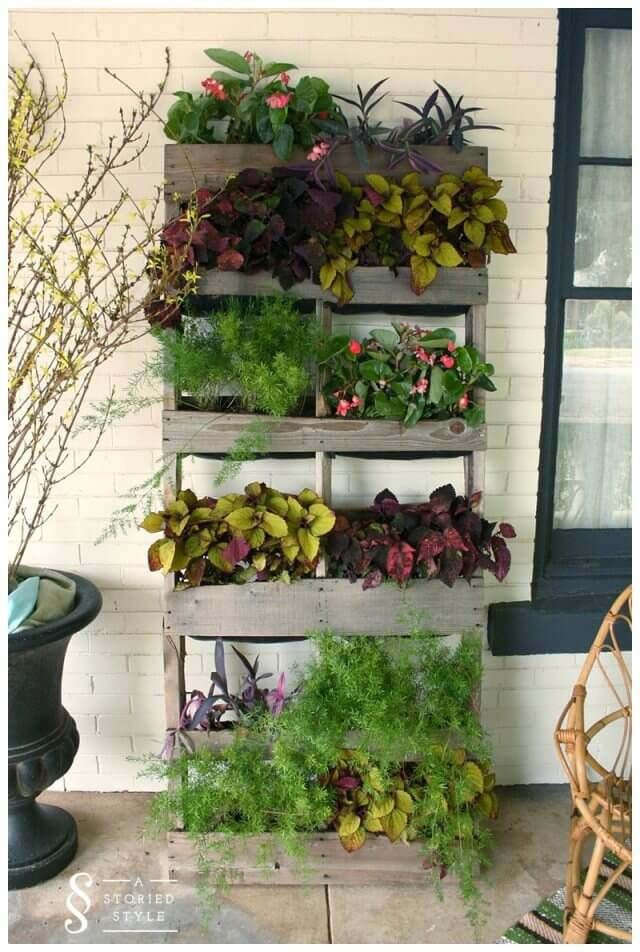
For my DIY pallet planter, I used dome house greens that also had non green leaves. This created a spectrum of leafy colors and now, every time I pass by it, this little space winks back at me.
For this DIY pallet vertical planter, you need
- A pallet (one in good condition as it will serve as a decoration also and should be bug free – I placed mine inside the house)
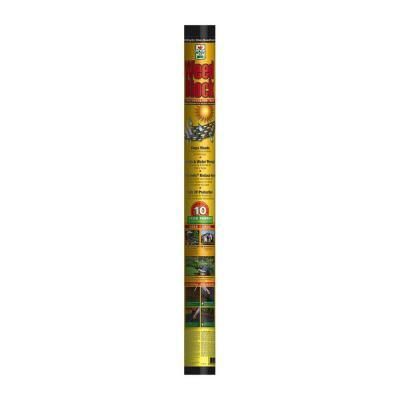
- Landscape fabric
- Nails
- Hammer
- Sanding paper
- Good quality soil
- House greens (you can use any type)
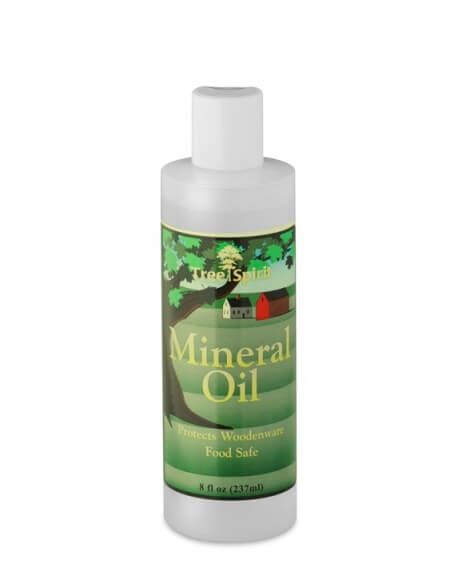
- Wood oil
- Stain or polish
To make my mini garden:
I first went pallet hunting and got myself a narrow stringer style pallet. I brought home and after the once over and cleaning, I whetted it.
The pallet wood had probably sat in the sun for a long time and needed some prepping up. I applied a light coat of wood oil and then a finish of polyurethane or polish so that it makes it longer lasting and protects it from becoming weather beaten if placed outdoors.
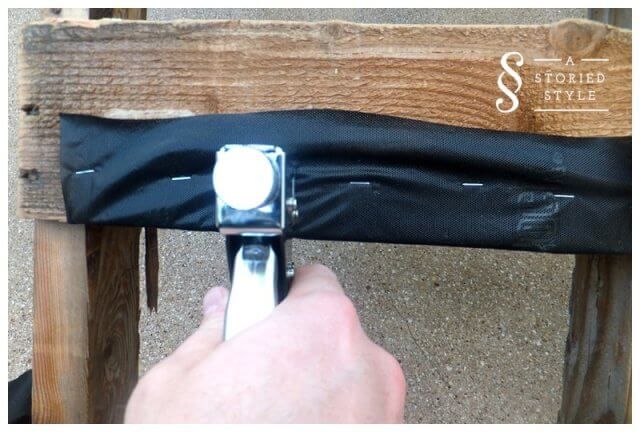
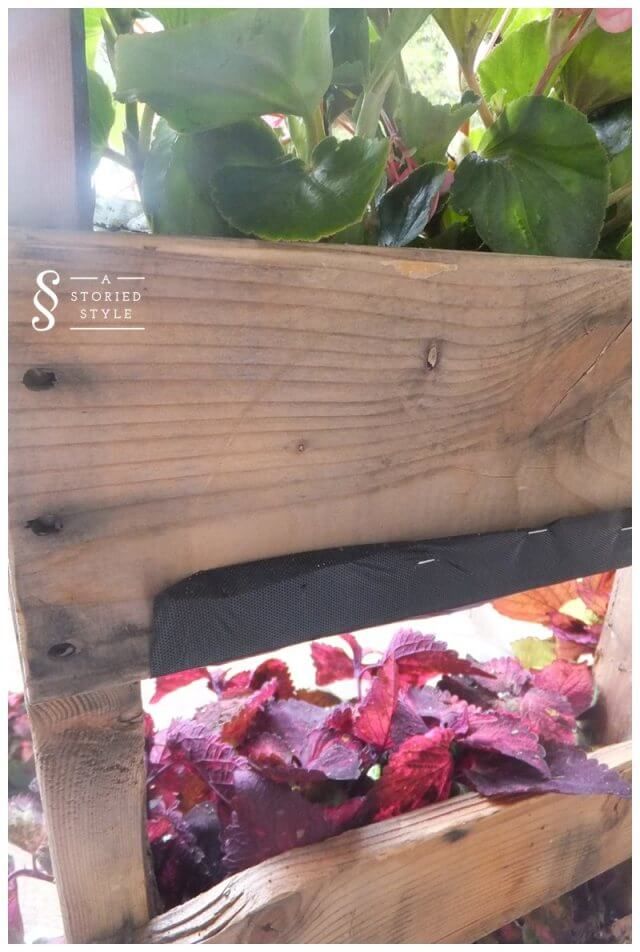
Meanwhile I collected all my materials: soil, fabric and nails. Next, I cut the fabric into size able strips so that I could make the plant pockets. This fabric is nailed between and to the deck spacing so that both facing decks are connected. This will make your soil and plant holder.
I filled these pockets with a good quality soil through the deck cracks and pressed in the greens and buds.
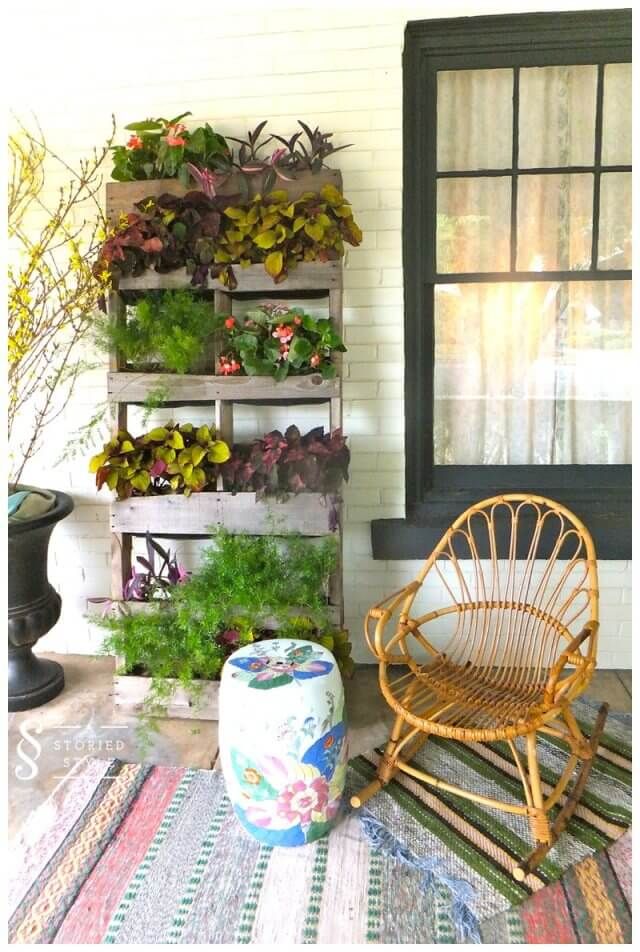
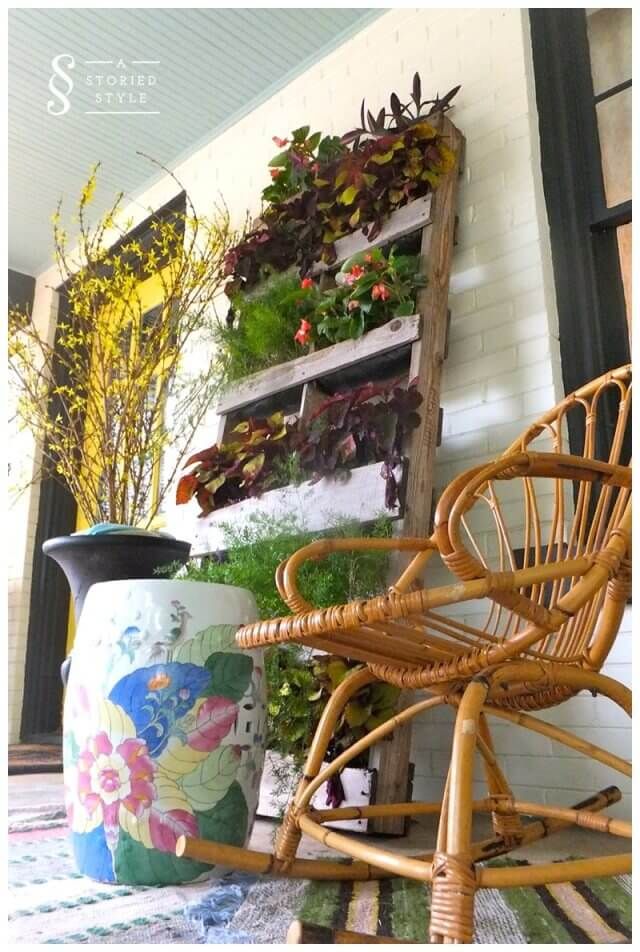
There, I was done with my mini planter. I propped it up against the wall in that lonely corner and spent that whole day admiring the transformation.

