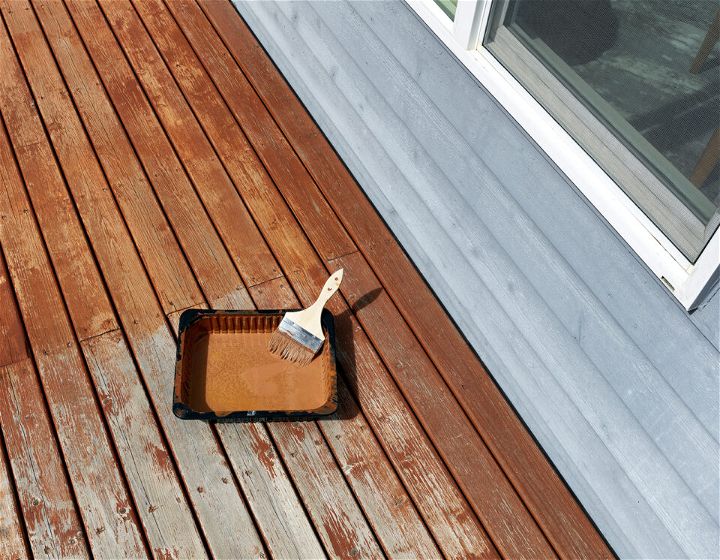
Are your fences, decking, and other wood furnishings starting to look untidy? Instead of forking out money for anything new, you should update them with a fresh coat of paint. This will save you significant money and is a fairly easy DIY job when done right. Whether you’re a beginner or a seasoned DIY expert, you will achieve a flawless finish on the wood in your home and garden. Follow these six steps on painting wood perfectly to achieve a flawless finish every time.

Step 1: Prepare the wood
Before you begin painting, you first need to prepare your wood surface by sanding it down to create a smooth and even surface. You should use medium-grit sandpaper to remove any rough areas or imperfections to achieve this. Once you’ve sanded the surface, wipe it down with a damp cloth to remove any dust or debris.
Step 2: Prime the wood
Once the wood is smooth, even and clean, you should start priming the surface. Priming is important as it will help you achieve a flawless finish. Priming helps seal the wood’s surface and creates a smooth base for your paint. To prime the wood, you should apply a thin layer of wood primer using a brush or roller, making sure to cover the entire surface evenly. Once the surface is covered, you should then let the primer dry completely before moving on to the next step. Make sure you check the instructions on the primer, as this will indicate how long it will take to dry.
Step 3: Choose the right paint
Before you pick up any old paint, you need to select paint specifically designed for wood, as this will ensure you achieve the perfect finish. For wood surfaces, it’s best to use a paint that is durable enough to resist chipping, cracking, and fading. You should also make sure that the paint that you choose is suited to the right environment. For example, if you are painting fencing, make sure you choose outdoor paint, while indoor wood paint should be used for any wooden home decor.
Step 4: Apply the paint
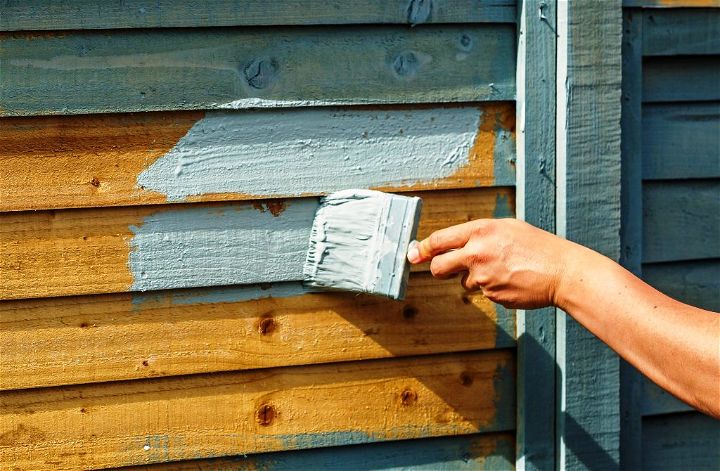
Now, it’s time for the paint application. When applying your paint, you can use a few techniques to help you achieve the perfect finish. One of the most popular and easiest methods is to use a high-quality brush or roller to apply the paint evenly. Start at one end of the surface and work your way across, applying the paint in long, even strokes. When brushing the paint, be sure to use a light touch and avoid overloading your brush or roller with too much paint, as this can cause the wood surface to look bumpy.
Step 5: Let the paint dry
Once you are happy with the first paint application, you should then leave the surface alone and let the paint dry completely. This is key to achieving a perfect finish. Follow the manufacturer’s instructions for drying time, and make sure to allow enough time for the paint to dry before applying a second coat, if necessary. If you’re working on a large surface, like decking or a large piece of furniture, it may be helpful to break it up into sections and allow each section to dry before moving on to the next.
Step 6: Sand and repeat
Once the first coat of paint has dried thoroughly, it’s time to sand the surface again. This time, you should lightly sand the surface with fine-grit sandpaper, creating a smooth and even finish. Once you’ve finished sanding, make sure to wipe the surface down with a damp cloth to remove any dust or debris, and then apply a second coat of paint. Repeat the sanding and painting process as needed until you achieve the desired finish.

Painting wood surfaces is a fairly straightforward job, and as long as you follow the above steps, you should achieve the perfect finish. However, if you don’t feel confident enough to complete the job or simply don’t have the time, you can always hire a professional to complete the job. Painting exterior costs typically start from £100 to £200 per day for labour, plus any material and additional costs. Before hiring a professional, be sure to get multiple quotes and look at reviews so you know you are paying someone skilled, fair and reliable.
